1. Installing the WPMU DEV Dashboard Plugin
The WPMU DEV Dashboard plugin enables members to research, install, and manage all Pro plugins from one screen.
The WPMU DEV Dashboard is required to connect your site to the WPMU DEV Hub and enable Pro features in all our plugins. The following steps will guide you through the process of downloading, installing, and activating the plugin, and then syncing your first site to WPMU DEV.
For detailed guidance on using the WPMU DEV Dashboard plugin’s features, see the WPMU DEV Dashboard plugin usage guide.
1.1 Download Instructions
Copy chapter anchor to clipboardIn order to sync your website to WPMU DEV, you must first install the WPMU DEV Dashboard plugin.
You can download the plugin from 2 different locations:
Download from the Dashboard plugin page
- Be sure you’re logged into wpmudev.com
- Click Pro Plugins in the menu at the top of the page to access the WPMU DEV plugin library.
- Scroll through the library to locate the Dashboard plugin, and click on it.
- Scroll down on the page, and click the Download button to download the dashboard zip file.

Download when connecting a new site in your Hub
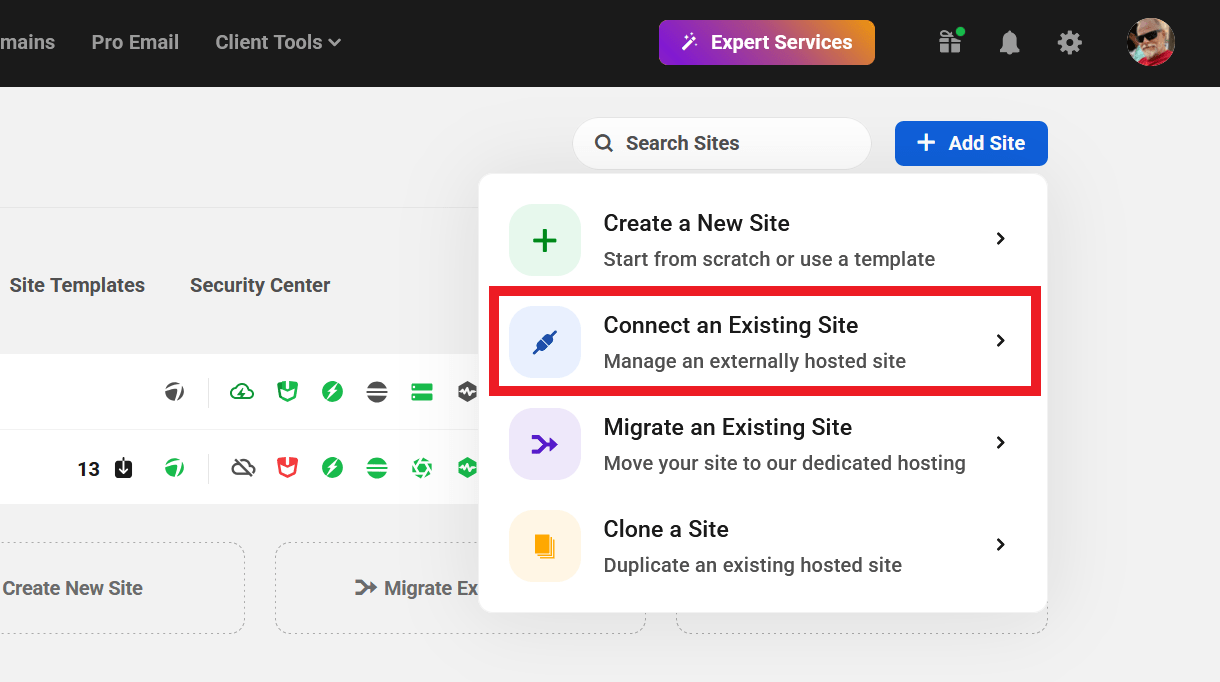
Once logged into wpmudev.com, go to your Hub and click the + Add Site button at the top to add a new site. Then select the Connect an Existing Site option.
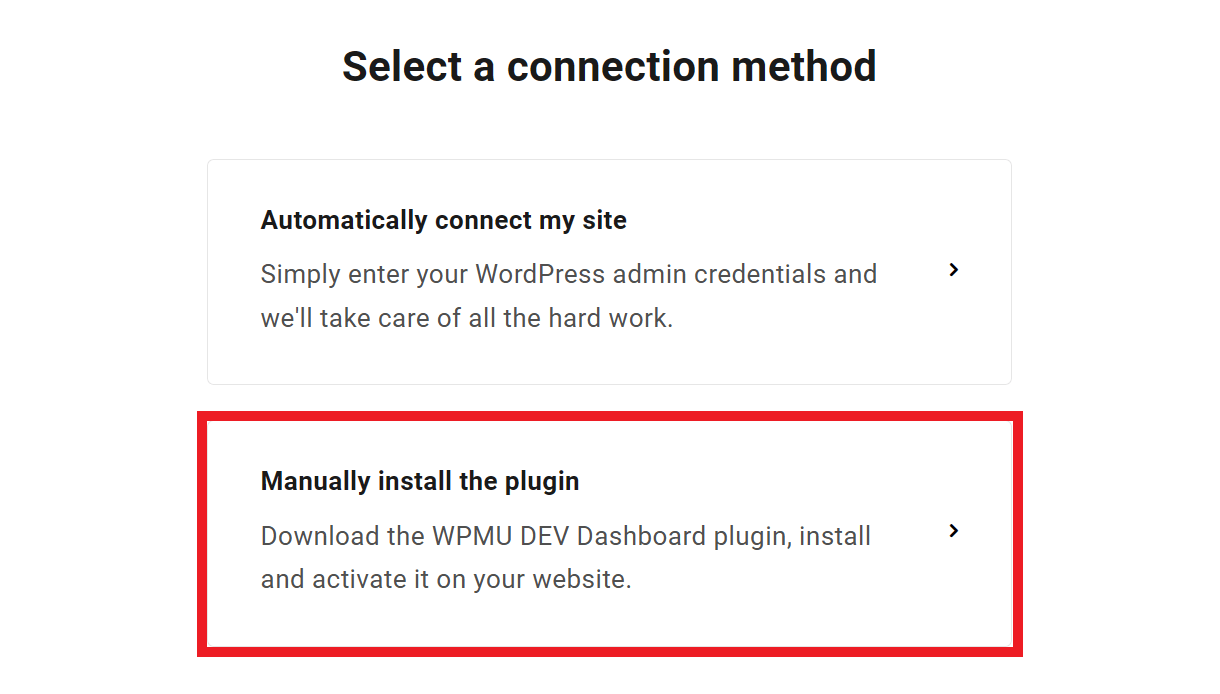
On the next screen, select Manually install the plugin.
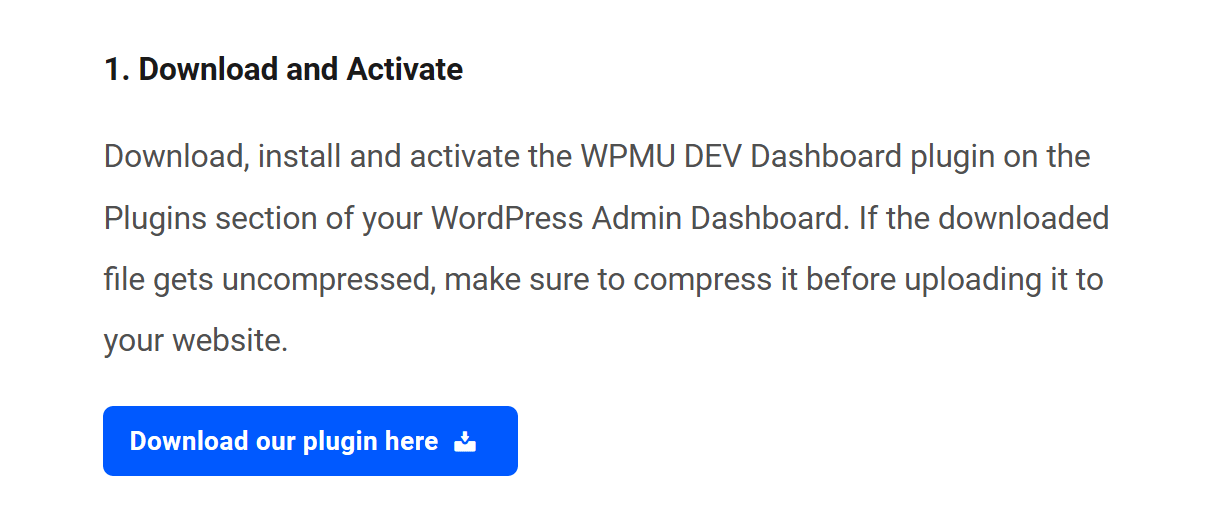
Then scroll down a bit to where you’ll see the Download button.
The Safari browser automatically unzips archive files that you download to your computer. This means that any .zip plugin file you download is automatically unzipped and must be zipped again before you can upload it to your WordPress site. You can change this default behavior though by following this guide.
1.2 Install & Activate
Copy chapter anchor to clipboardUpload the WPMU DEV Dashboard plugin to WP Admin
- Open your WordPress-enabled site.
- Hover over the Plugins menu, and click Add New to access the plugin installation page.
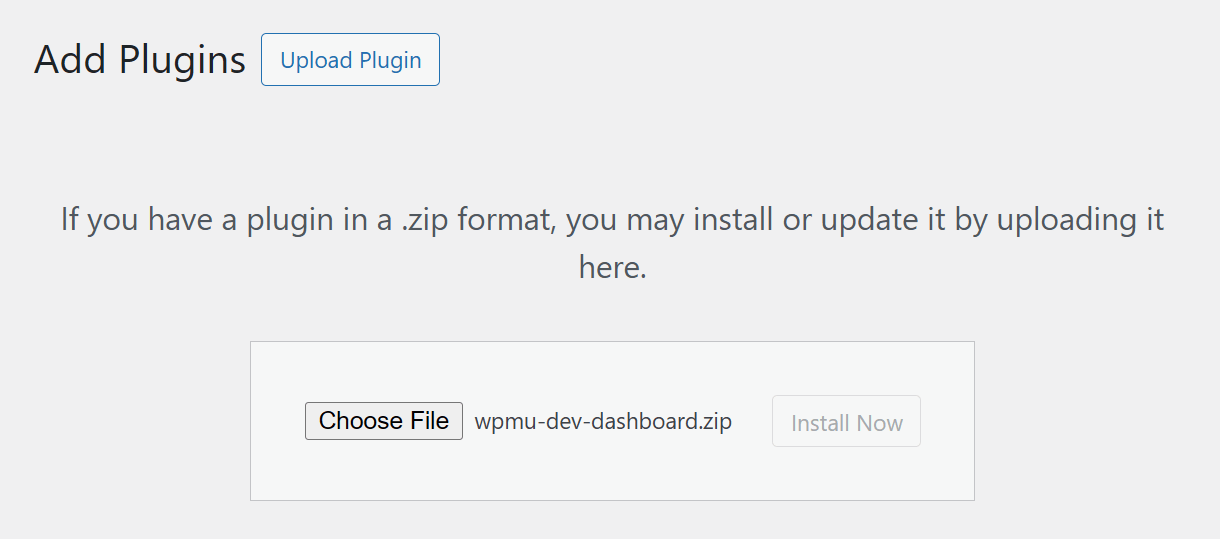
- Click Upload Plugin and then click Choose File to access your computer’s files.
- Locate the WPMU DEV Dashboard plugin zip file you just downloaded. Click Open to upload the file, and the file name will appear in the installer.
Install and Activate the WPMU DEV Dashboard
Click Install Now, and a “Plugin installed successfully” message will appear along with the Activate Plugin button when the installation is complete. Click Activate Plugin to activate the Dashboard plugin.
You will be prompted to connect to WPMU DEV in order to sync your site to The Hub. Enter your WPMU DEV account username and password and click Connect.
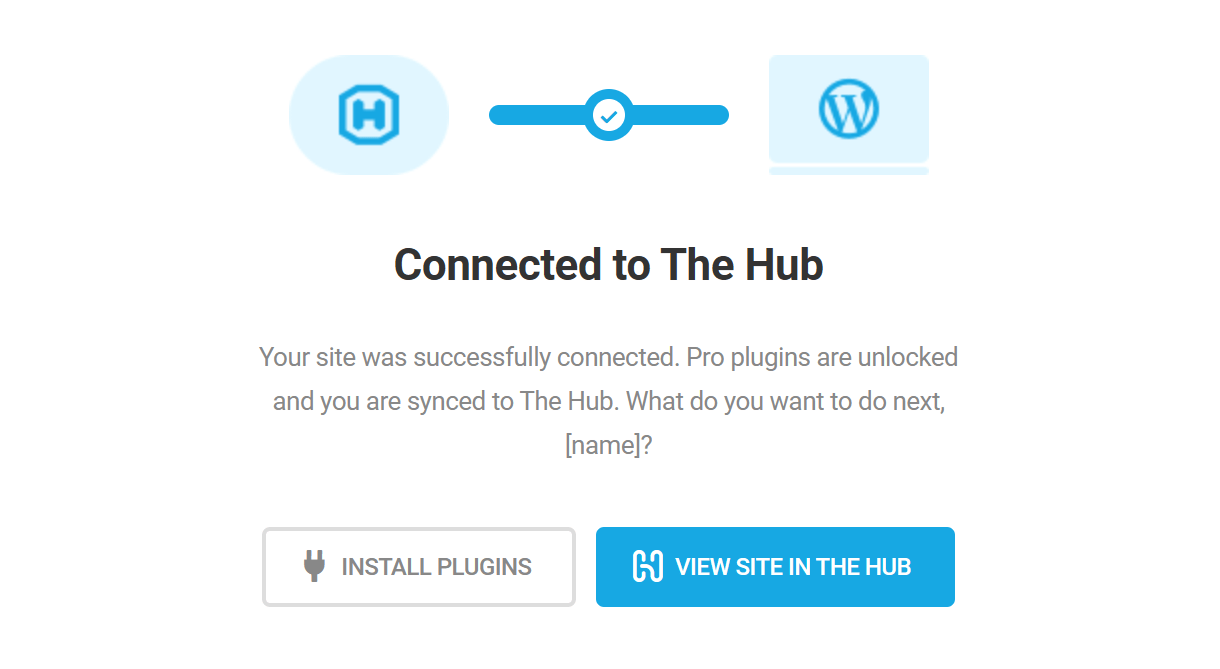
Congrats! You have successfully installed the WPMU DEV Dashboard, syncing your site with The Hub, unlocking pro features, and providing instant access to our brilliant support team.
1.3 Get Support
Copy chapter anchor to clipboardIf you still have questions or need assistance after reading this document, please don’t hesitate to contact our support superheroes using the available options under the Support tab in your Hub or via the Support tab in your WPMU DEV Dashboard.
